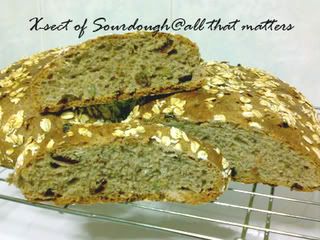
I haven't been baking/cooking regularly of late. Being bogged down by work and been rather negative these days. Fortunately, I have friends who cheered me on, online or off. Also, I have something on hand to keep my spirits up a little. Something which requires daily attention. I jumped start on cultivating wild yeast to make Sourdough. Hmm.. where do I actually start? Something caught my eye in the forum I frequent. Then Gina gave me some of her starter, which I killed along the way. Slowly, I was being introduced to this thing called 'Sourdough' by a fellow forumer, Chips, whom I can't thank enough of. The more I read about it, the more intrigued I become. Thus I started this journey. Be forewarned that this is a rather long post.
I used 20g of bread flour and 20g of water(de-chlorinated), mix well and left it for a day. This is what it looks like.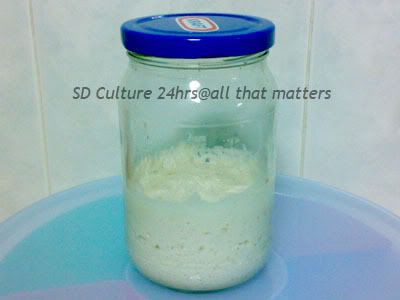
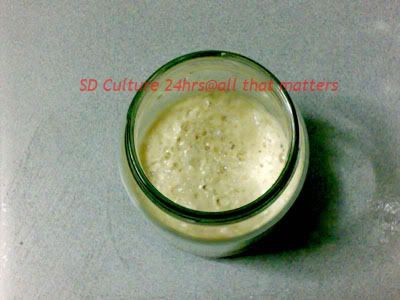
Sad to say, this batch got 'killed' by my helper. Can't really blame her enthusiasm, can I? She had been 'poking' the 'foaming organism' with chopsticks. Thinking that 'it' will behave and best remained at a safe level, instead of risking an 'eruption'. My starter turned pink, quite pretty really, but inedible. When the starter turns pink or have streaks of colours, both attractive or unattractive; it's a sign that it has moulds. Perhaps I shouldn't have thrown that batch away, might as well let it grow and see what happens. I started another batch, this time, with a taller container and asked my helper to stay off it.
I fed the starter according to instructions, for 7 days. It was rather tedious. For 7 days, you need to feed the starter, let it double, throw away some on the next day and feed again. I usually leave about 1 tablespoon of the starter and feed 10g of water and 10g flour to it. To understand why you need to do this, please read up this link. I'm just a lucky beginner. All I know, I learnt it from that site and from Chips (I do hope he/she has a blog which I can link up and give credit to). Anyhow, here's what it is supposed to look like on 6th and 7th day. The starter will have bubbles (carbon dioxide), just so you know that it is alive. It also has a faint alcohol smell. If it smell really bad, it's time to throw it out.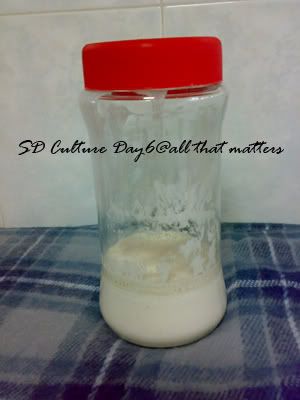
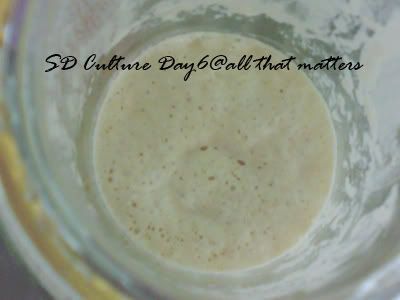

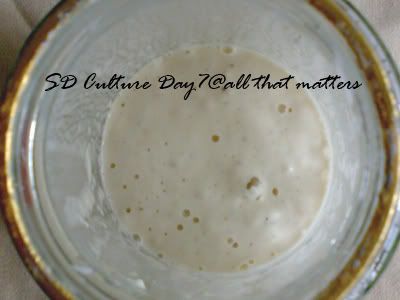
You need to clean the sides of the container, in case the moulds decide to grow there. After 7 days, I kept the starter in the fridge. I would need to feed the starter twice before I start baking. Thus, on Friday night, 10.30p.m., I took 10g of the starter, I added 20g of flour and 20g of water. Next morning, I fed the starter with 100g of water and 100g of flour. I started making bread at 2.30p.m. and ended at 8.30p.m. for my precious 2 loaves of bread. I got the recipe from here. I made this bread mainly for my mom coz flax seeds are supposed to be good for the heart. I reduced the recipe as I know that neither my mixer nor I, can handle the volume. Also, I do not have poppy seeds and my mom preferred pumkin seeds. Below is my version, it's my first attempt baking using cup measurement.
Flax Seed Bread (yields close to 1 kg of bread before baking)
Ingredients
1 Cup Sourdough Starter
2 Cup Bread Flour
1/2 Cup Wholemeal Flour
1/4 Cup Flax Seed Meal
55g Olive Oil
60g Honey
130g Water
1-1/2 Tsp Ground Cinnamon
1/4 Cup Pumpkin Seed
90g Dried Cranberries
1/4 Tsp Salt
Some rolled oats (optional)
Some flour to dust
Method
1) Toast the pumpkin seeds in the oven at 160 deg.C for 5 mins.
2) In a bowl, mix the starter, water, honey and oil together. Add in the flax seed meal, ground cinnamon, wholemeal flour and bread flour to form a dough.
3) On a floured surface, add in salt and knead the dough till smooth. Test if the dough reaches membrane stage. Add in the pumpkin seeds and cranberries at this stage and knead abit more till the ingredients are evenly distributed.
4) Cover the dough and leave it rise till doubled it size. Using a rolling pin to even out the dough, weigh, divide and shape into 2 loaves. Sprinkle some water on the surface of dough and coat it with rolled oats.
5) Sprinkle some flour and rolled oats on the baking tray and transfer the loaves onto the tray. Leave them to prove till they double in size. Bake in lower rack at 165 deg.C for 40 mins or they sound hollow when you tap them.
Before baking, waiting for 2nd proving.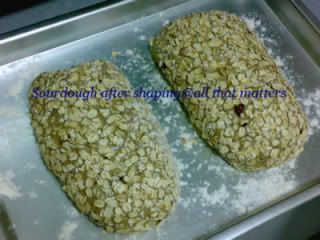
After baking.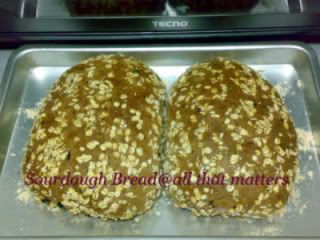
I didn't want to grease the baking trays so I used rolled oats and flour instead. The bread didn't stick to the tray at all. Mom's verdict : She loves it! It's flavourful, no yeasty smell. It's healthy by her standards. I love the crust and the chewy texture. So what happened to the leftover starter? Chips taught me this ratio, 15g starter : 30g water : 50g flour. Stored it in the fridge so I do not have to feed it that often. I was thinking of feeding it once a month.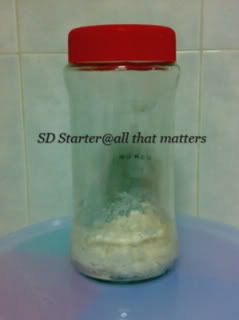
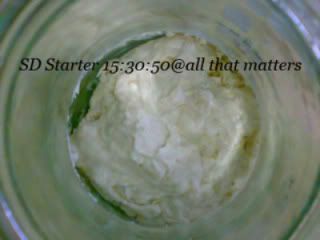
Till then, I'll find some other sourdough recipes to try out.
*Side Note : I noticed Photobucket auto-sized my pictures. Does anyone know how to remedy this? I tried resizing it but resulted slightly 'blurred' pic. Please... my pics are already blur.. I don't need this. 
それじゃ~~
Super Easy, Super Moist Chocolate Cupcakes
5 years ago


2 comments:
wow rei, what an adventure! congrats on finally achieving it. hope your mood is lifted after this success (actually saw your post in KC but didn't comment :P)
Yuri : Do give sourdough a try. I'm a convert now.. ahahah..
Post a Comment