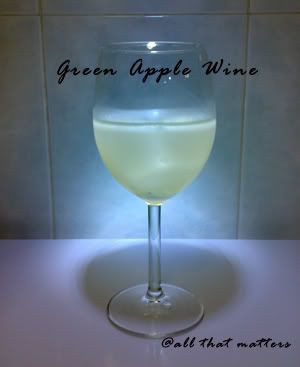
I took a 'romantic' picture again~~ 
After 2 disappointing failed attempts of making of Starfruit wine, I gave up and tried with Green apples instead. Actually, the starfruits were not on offer at the supermarket anymore. Green apples were selling on a discount instead. This trial resulted a stronger wine than the Grape wine. Although I have added 10% of sugar of the weight of the apples, the wine was not sweet. I guess for wine making, it would be better if you use fruits that are sour to balance out with the amount of sugar to be used.
I have learnt from my failure of the Starfruit wine. I tried to be smart and reduced the sugar. My parents complained that the Grape Wine was abit too sweet for them. In the end, I had mouldy fruits on top. In all, I threw away 3kg of starfruits. Such waste! I suffered a heartache from this batch particularly.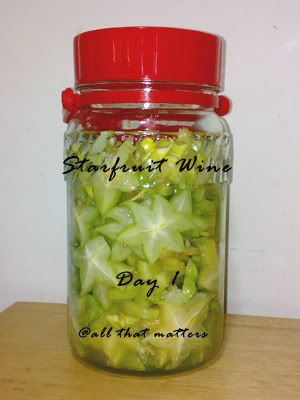
Spot the 6-sided fruit? I added lemon rind in both batches and they went mouldy by Day 4. They were fermenting well and smelled really nice and alcoholic. I could have scooped away the mouldy part and continued with the fermentation. But I was really afraid of poisoning lah~~  So after some struggle, I threw them away (*heartache~ heartache~).
For the Green Apple Wine, I used 2kg of fruit and 200g of sugar. I put 1 layer of sliced apples and 1 layer of sugar. I saved abit more sugar for sprinkling on the top. This part I did not do it for the starfruit batches as I overlooked the importance of it. To make the condition unsuitable for moulds to grow, I covered the apple slices on top with lots of sugar.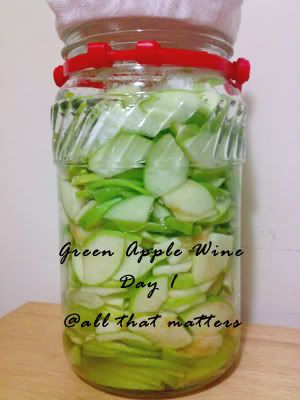
By Day 3, there will be more bubbles. I do find that it takes a longer time than the grapes. By Day 4, the apples will start to float on the wine (sorry, no pictures).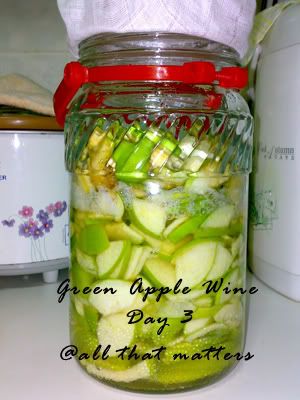
During harvest on the 8th day, I regretted 1 thing. I should have juiced the apples and thrown in the pulp instead of slicing it. I think the fermentation process will be faster and it will be easier to extract the wine during harvest. After squeezing the content, I only yielded about 700ml of wine. Much is trapped in the slices.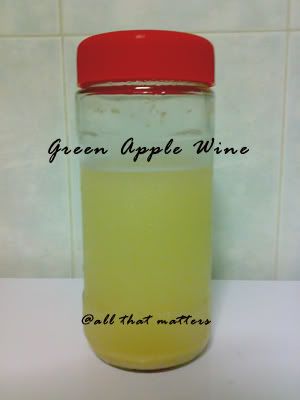
After settling, there will be a layer of sediments at the bottom. I left it in the fridge and it was still bubbling. A sign that fermentation is incomplete. However, I would suggest drinking at this stage, it tastes slightly gassy, which was quite good. Best drank chilled or with ice.
I would suggest drinking homemade fruit wines as soon as possible after harvesting. Leave as little space as possible in the container as when the wine comes into contact with air, it will turn into vinegar.
じゃね~~
Super Easy, Super Moist Chocolate Cupcakes
5 years ago


2 comments:
Hey Rei, very good looking wine you have. So, if you should juice the apples on yr next try, are u planning to add whatever juice there is into the bottle as well?
Very inspiring, must get a big glass bottle first. How big is yours?
Yuri : Ya, next batch I will juice the apples and throw in pulp + juice into the bottle. Don't know if it will work but I read somewhere people used fruit juices to make wine as well. My bottle can contain 2kg, the other wine which I made Glutinous rice wine with can hold up to 3kg.
Post a Comment